MacCopilot
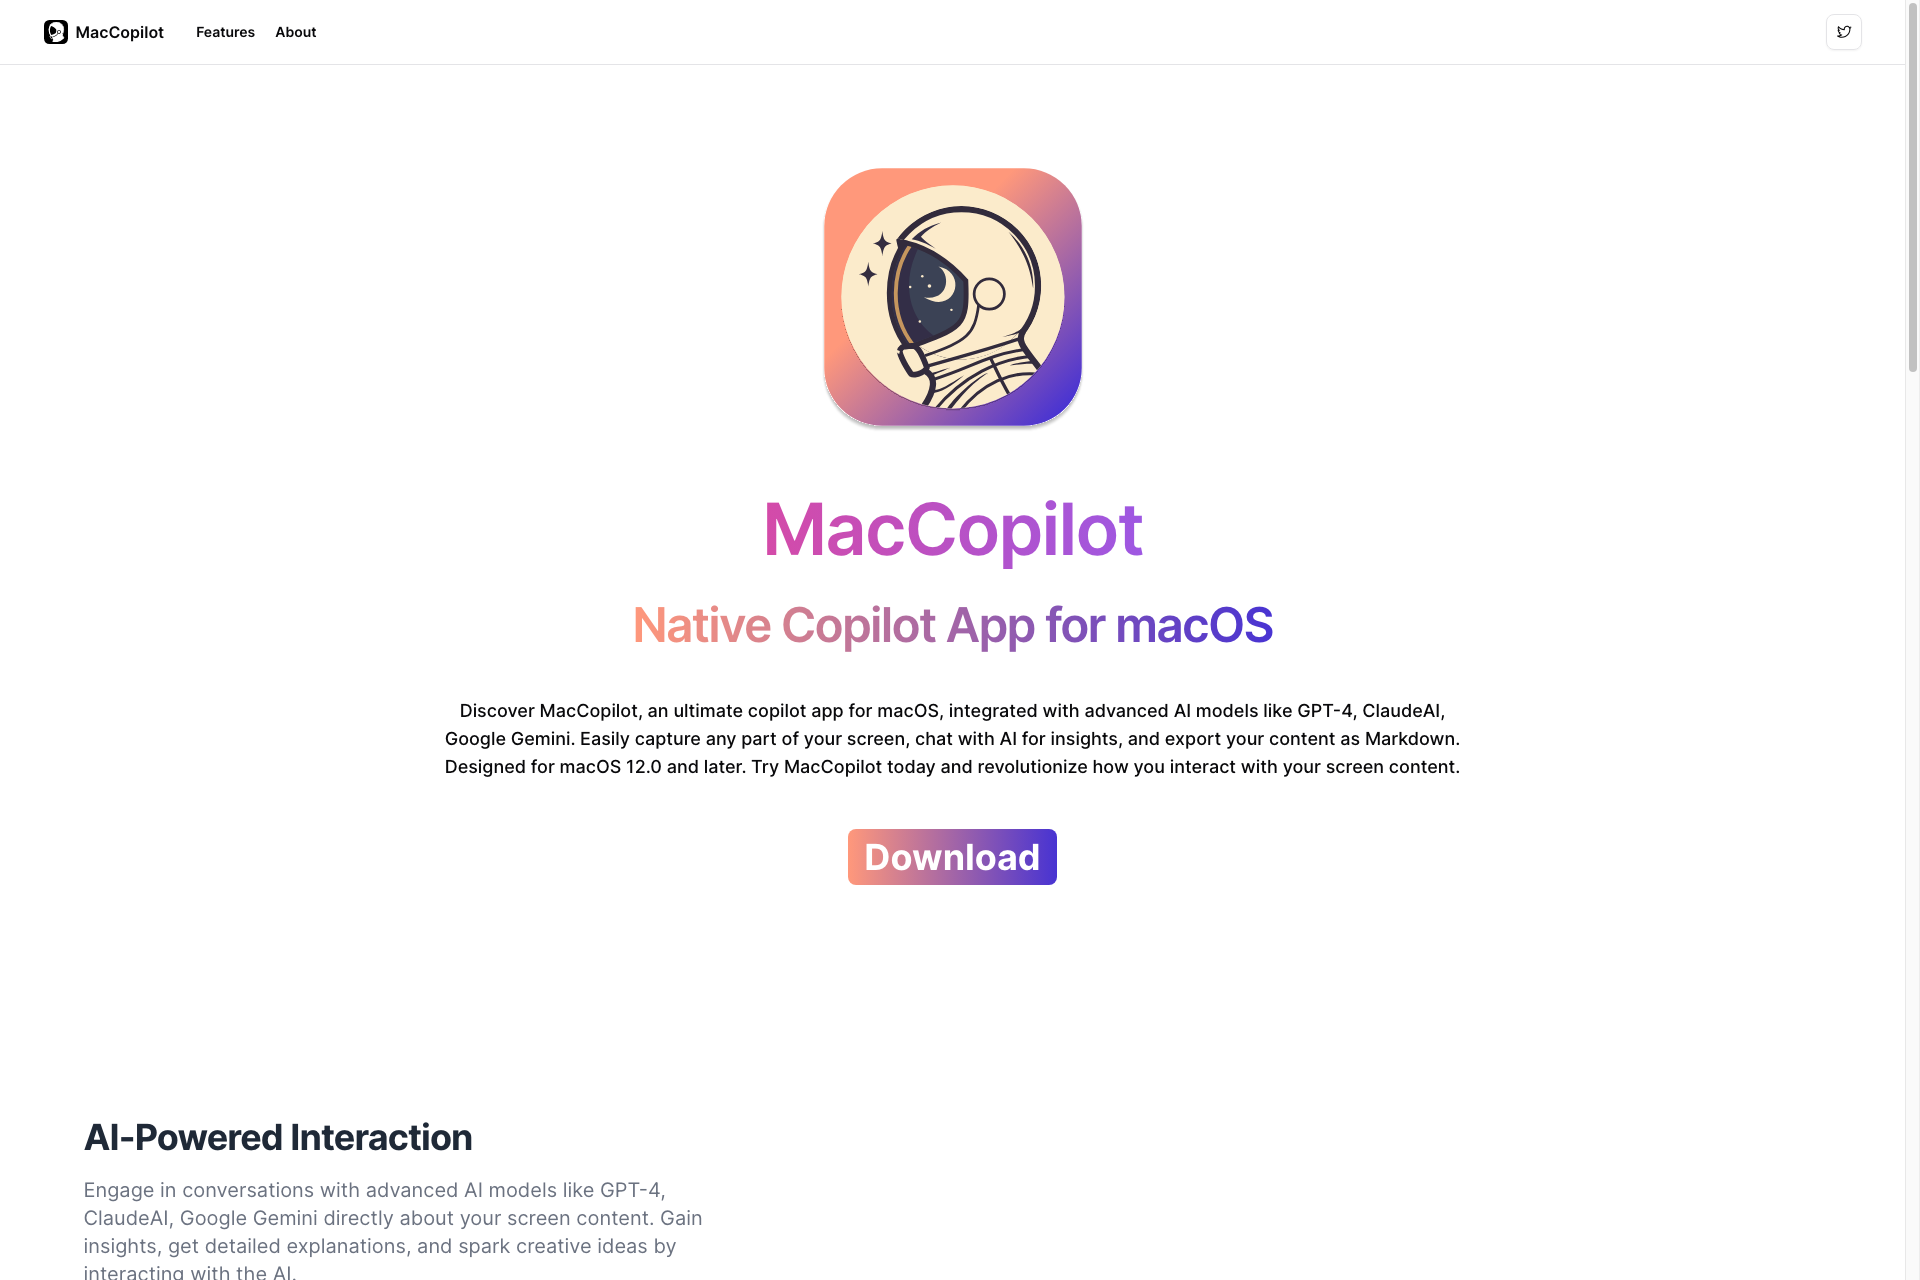
MacCopilot is a native copilot app for macOS that smartly interacts with your screen content. Engage with AI models like GPT-4o or Gemini, capture flexible screenshots, and seamlessly connect to various AI platforms for enhanced productivity and creativity.

Key Features of MacCopilot
AI-Powered Interaction
Engage in real-time conversations with advanced AI models like GPT-4 and ClaudeAI directly about your screen content.
Flexible Screenshot Captures
Easily select and capture any part of your screen with built-in tools, allowing for quick and flexible screenshot options.
Seamless Multi-Platform Support
Connect effortlessly to various AI models, including OpenAI's GPT-4o and Google Gemini, tailored to your needs.
Built-in AI Models Access
Subscription users gain access to built-in AI models like OpenAI GPT-4o and ClaudeAI 3.5 Sonnet for enhanced functionality.
User-Friendly Interface
Enjoy a clean and intuitive interface that simplifies the interaction between you and the AI models.
Customizable Plans
Choose from various pricing plans that suit your budget, offering different levels of access to AI requests.
Frequently Asked Questions about MacCopilot
Related Products about MacCopilot

Transform any photo into a figurine-style image with our AI tool. Quick, easy, and fun——start for free or explore our premium options for more features!

A Revolutionary Content Replacement Framework developed by experts at the Institute for Intelligent Computing, Alibaba Group. It uses advanced AIGC techniques to seamlessly replace elements in images while maintaining ultra-high quality.

Wallpea plays a crucial role in revolutionizing the stock image industry by providing millions of businesses, designers, writers, artists, programmers, and other creators with access to a vast array of AI generated stunning images that they can freely use.

Transform your resume into over 100+ languages instantly with AI-powered accuracy. Maintain original formats, ensure privacy, and unlock global job opportunities. Upload, translate, and download seamlessly. Try our AI resume translator today!

Pal"! Using AI, Pal matches you with ideal partners, be it for business, study, or fun. Dive in and find your perfect match effortlessly.

DreamMachine AI Video Generator is Powered by advanced fine-tuning based on Luma AI, this free video generator lets you bring your ideas to life with just a few clicks. Don’t wait – start generating your perfect videos for free today!

Introducing BhashaBlend: AI Hindi to English Translator. Seamlessly bridges language gaps with precise, culturally nuanced translations. From "क्या" to "Kya," it captures the true meaning, surpassing traditional converters.
